Real estate photography is a great niche for freelance photographers—it’s in steady demand, offers opportunities for repeat clients, and allows you to work both indoors and outdoors. However, while it remains a profitable industry, getting into real estate photography is becoming more challenging. Many real estate agents and property managers now rely on smartphones for quick listing photos, assuming that’s good enough. What they don’t realize is that high-quality, professional images can make all the difference in selling a home.
Great real estate photography isn’t just about taking a clear photo of a room—it’s about making the property look inviting, spacious, and desirable. The right composition, lighting, and editing can elevate an ordinary space and make potential buyers envision themselves living there. Studies show that properties with professional photos attract more views online and sell faster than those with poor-quality images.
In this guide, we’ll cover everything you need to know to excel in real estate photography. From essential gear and camera settings to composition techniques, lighting tips, and working with real estate agents, this article will help you create high-quality images that stand out in a competitive market.
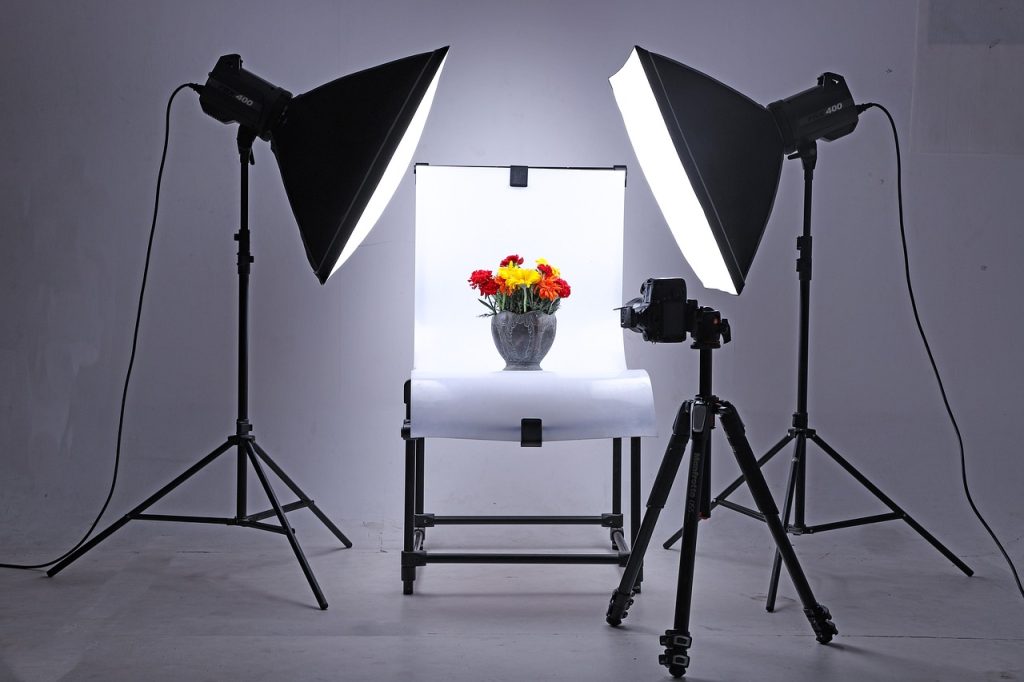
1. Essential Gear for Real Estate Photography
We know you’re an experienced photographer and already understand how to take great photos and choose the right gear. This section isn’t about telling you what you already know—it’s just a friendly reminder of the tools that can make your real estate photography more efficient and high-quality.
- Camera – A full-frame or APS-C camera with good low-light performance is ideal. While a high-megapixel sensor can be useful, composition and lighting will always be more important than resolution.
- Lenses – A wide-angle lens (16-35mm) is essential for capturing entire rooms without making them look distorted. Avoid extreme fisheye lenses, as they create unnatural perspectives.
- Tripod – Crucial for sharp, consistent shots and long-exposure images in low-light conditions. A sturdy, adjustable tripod will help maintain composition and ensure straight verticals.
- External Flash & Lighting – While natural light is best, an external flash or LED panels can help balance indoor lighting and reduce harsh shadows. A flash with a bounce feature can create a more natural look.
- Drone (Optional but Powerful) – Aerial shots can help showcase properties, especially for larger homes, commercial spaces, and real estate listings with scenic surroundings.
- Remote Trigger or App Control – Helps eliminate vibrations from pressing the shutter button and ensures perfectly steady shots.
- Editing Software – Post-processing is key in real estate photography. Lightroom and Photoshop are industry standards for correcting exposure, straightening lines, and enhancing images without over-processing.
Having the right gear makes real estate photography smoother and more professional. But at the end of the day, it’s not about having the most expensive equipment—it’s about knowing how to use what you have effectively to produce stunning, marketable images. Next, we’ll dive into the best camera settings to help you capture real estate shots that impress clients and sell properties.
2. Camera Settings for the Best Shots
Real estate photography is all about clarity, sharpness, and balanced lighting. You already know your way around a camera, so here’s a quick refresher on the ideal settings to get crisp, professional-looking images:
- Aperture: f/8 to f/11 for sharp images and deep depth of field.
- Shutter Speed: Use a tripod and slower shutter speeds (1/4s–1/60s) for well-exposed interiors without motion blur.
- ISO: Keep it as low as possible (100-400) to avoid noise, especially in darker rooms.
- White Balance: Match the lighting conditions to prevent unwanted color casts—use custom white balance or adjust in post-processing.
- Bracketing & HDR: Use multiple exposures to balance bright windows and darker interiors for a clean, evenly lit final image.
Mastering these settings will help ensure your real estate images look professional and appealing to potential buyers. Next, we’ll cover composition techniques to make every shot look spacious and inviting.
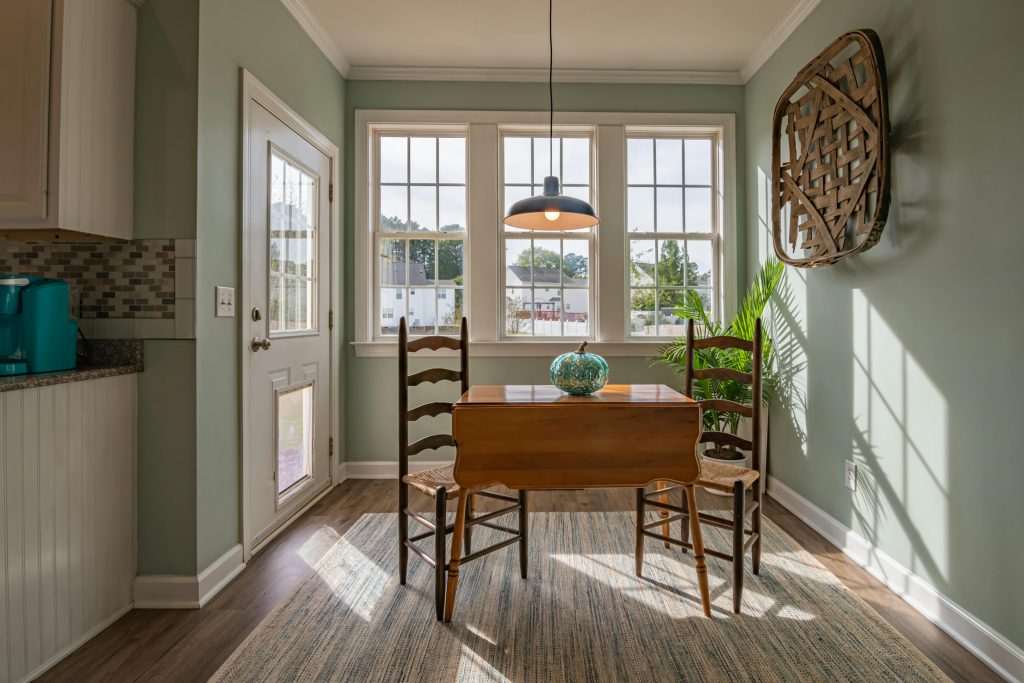
3. Composition & Framing: Making Rooms Look Their Best
In real estate photography, composition is everything. A well-composed image makes spaces look bigger, brighter, and more inviting—while poor framing can make even a beautiful home feel cramped and unappealing. Here are some key techniques to ensure your photos showcase each property in the best possible way:
The Best Angles for Real Estate Photography
- Shoot from the corners of a room to create a sense of depth and maximize space.
- Avoid extreme wide-angle distortions—keep vertical lines straight to maintain a natural look.
- If a room has a standout feature (like a fireplace or large window), use it as a focal point.
Height Matters: Finding the Right Camera Position
- Keep the camera at about chest height (roughly 4-5 feet) for interiors to create a balanced perspective.
- For kitchens and bathrooms, a slightly higher angle helps show countertops and surfaces.
- Avoid tilting the camera up or down too much—this can distort the space and make walls appear slanted.
Leading Lines & Symmetry for a Professional Look
- Use architectural elements like hallways, countertops, and floor patterns to create natural leading lines.
- Symmetry makes images feel well-balanced—try to center key features when possible.
- Open doors can create depth and lead the eye naturally from one space to another.
Decluttering & Staging: A Crucial Step
- A clean, well-organized space always photographs better. Remove personal items, unnecessary decorations, and clutter.
- If the home isn’t staged, suggest simple fixes like adding fresh flowers, rearranging furniture, or removing distracting elements.
- Pay attention to small details—wrinkled bedsheets, visible cords, and unorganized shelves can ruin an otherwise great shot.
Highlighting Key Features That Sell a Home
- Focus on what makes each property unique: a grand staircase, an expansive backyard, or modern kitchen appliances.
- Capture multiple angles to show the flow of a home—buyers want to get a sense of the layout.
- For exteriors, consider shooting at golden hour (early morning or late afternoon) for warm, inviting light.
By mastering composition and framing, you can turn even the most ordinary rooms into bright, spacious, and appealing spaces. Up next, we’ll dive into lighting techniques to help you capture well-balanced, natural-looking images that enhance every shot.
4. Mastering Lighting: Natural vs. Artificial Light
Lighting can make or break a real estate photo. A well-lit space looks larger, more inviting, and more expensive—while poor lighting can make even a beautiful home appear dull and unappealing. Understanding how to use natural and artificial light effectively is key to capturing stunning property photos.
Use Natural Light Whenever Possible
- Shoot during the daytime for bright, even lighting.
- Open curtains and blinds to let in as much natural light as possible.
- Position yourself so that the light source enhances the space rather than creating harsh shadows.
Balancing Indoor & Outdoor Light
- One of the biggest challenges in real estate photography is handling bright windows against darker interiors.
- Use bracketing and HDR techniques to merge multiple exposures and balance lighting across the entire image.
- If windows are overexposed, consider adjusting your composition or using flash to brighten the interior.
Using Flash or Continuous Lighting Correctly
- A bounce flash can help fill in shadows and create an even look.
- Continuous LED lighting can be useful for darker rooms where natural light is limited.
- Avoid harsh direct flash, which can create unnatural highlights and shadows.
Mastering lighting ensures that every room looks as appealing as possible. Next, we’ll go over editing techniques to enhance your real estate images without overdoing it.
5. Editing & Retouching: Enhancing Without Overdoing It
Editing is where good real estate photos become great. The goal is to enhance the images while keeping them realistic and true to life. Overediting can make a property look artificial, which can lead to disappointed buyers when they see the home in person. Here’s how to strike the right balance.
Basic Adjustments
- Adjust brightness, contrast, and sharpness to make the images pop without looking unnatural.
- Correct white balance to ensure colors appear neutral and true to life.
- Use lens correction tools to fix distortion caused by wide-angle lenses.
- Straighten verticals to ensure walls and door frames don’t appear tilted.
Blending HDR for Balanced Exposures
- Bracketing multiple exposures and blending them in Lightroom or Photoshop can help balance bright windows and dark interiors.
- Avoid extreme HDR effects—keep it natural, ensuring windows don’t look unnaturally bright or colors too saturated.
Enhancing Colors Without Over-Saturation
- Slightly boost colors to make images more appealing, but avoid unrealistic tones.
- Keep greens and blues natural—oversaturated skies or lawns can look artificial.
Removing Distractions & Minor Fixes
- Use the clone or healing tool to remove minor blemishes, such as dust spots or reflections.
- Remove distracting objects like cords, small clutter, or stray items that might take attention away from the property.
Sky Replacements & Lawn Touch-Ups
- If the weather was dull, a subtle sky replacement can help brighten exterior shots—just make sure it looks natural.
- Patch up brown grass or uneven lawns sparingly to make the property look its best without misrepresenting it.
Final Export & Delivery
- Export images in both high-resolution (for print) and web-optimized versions (for online listings).
- Keep file sizes manageable while maintaining quality—JPEG format at 80-90% quality usually works best.
By using careful editing techniques, you can enhance real estate photos without making them look fake or misleading. A natural, polished look will help properties stand out while still being an honest representation of what buyers can expect.
6. Working with Real Estate Agents & Clients
Real estate agents and clients expect a high level of professionalism and efficiency. Building good relationships with them will help you land repeat business and referrals.
- Understand the Client’s Needs: Ask your clients what they’re looking for in their photos. Do they need a focus on the exterior or unique features? Are they selling the home online, or is it for brochures?
- Deliver on Time: Time is money in real estate. Make sure to provide fast turnaround times for your clients—quick delivery is key to keeping them happy.
- Be Professional & Communicate Clearly: Real estate photography is a service business, and clear communication is crucial. Keep your clients informed on the process, pricing, and deliverables.
- Pricing Your Services: Pricing varies depending on location and the complexity of the shoot. Consider offering package deals for agents who need regular work.
- Building Long-Term Relationships: Once you’ve worked with an agent or a client, encourage them to refer you to others. Developing a solid reputation will lead to long-term success in the real estate market.
Conclusion
Real estate photography is a rewarding niche that can bring consistent work and a great reputation. By mastering the gear, settings, composition, lighting, and editing techniques covered in this guide, you’ll be able to provide clients with stunning photos that help properties sell faster and for a higher price.
If you want to dive deeper into the techniques and tools of real estate photography, we have additional resources and a free eBook available for download to help you take your work to the next level.